
The North Pole Journal · Christmas Ideas
Easy Christmas crafts for kids to make together at home
A relaxed guide to festive making that keeps preparation manageable and leaves plenty of room for children’s own ideas.
By the North Pole Tracker team · November 8, 2026 · 8 min read
The best Christmas crafts for kids do not need a crowded supply cupboard or an afternoon of adult preparation. A piece of cardboard can become a tree, torn paper can turn into a wreath, and a homemade card can give a child a lovely way to connect with someone they care about. The aim is not a matching set of decorations: it is a manageable stretch of time spent making something together.
The five projects below use ordinary household materials and work well at a kitchen table. Choose one rather than planning a whole craft marathon, and treat the suggested times as flexible guides, not deadlines. Some children will finish quickly; others will spend most of the session arranging their materials. Both approaches count. Younger children can tear, scribble, and stick while older children take on folding, planning, and more detailed designs.
Set up Christmas crafts for kids without the overwhelm
Start with a small, shared kit: plain or scrap paper, clean cardboard, crayons, washable markers, an age-appropriate glue stick, and scissors. Clear one working space and protect it with scrap paper if needed. A tray or shallow box gives loose materials a home, while a second box can collect useful offcuts. Avoid putting every available supply on the table; two or three colour choices are often enough to get started.
Keep costs down by checking what you already have before choosing a project. Unmarked sides of old paper, clean packaging, and paper bags can all be useful. Remove staples, tape with sharp edges, and any packaging that has held raw food or cleaning products. If something is missing, substitute rather than building a shopping list.
Adults should supervise scissors, other sharp tools, and any small parts. Pre-cut shapes for children who are not ready to use scissors, and skip loose embellishments for children who mouth objects. None of these projects needs heat. If an adult adds a heat-based step, such as hot glue, keep it adult-only and away from children’s hands.
- Allow around 10 minutes to set up, then choose a project that suits your available time.
- For toddlers, offer large paper pieces and one simple action, such as pressing paper onto glue.
- For preschoolers, demonstrate one step at a time rather than presenting a finished model to copy.
- For older children, offer extra design choices or let them help prepare materials safely.
Make a torn-paper Christmas tree collage
This is a forgiving first project because uneven edges make the tree interesting. You need a sheet of paper or thin cardboard for the background, green paper or paper coloured with crayon, a scrap for the trunk, and glue. Set aside about 15–25 minutes. With reused paper, there is usually no need for extra supplies.
Draw a large triangle lightly on the background, or leave the outline out for a freer design. Invite your child to tear paper into manageable pieces, then arrange them into a tree shape. Demonstrate how to glue a small patch and press paper onto it. Overlapping pieces give the tree texture; gaps can become snowy spaces rather than mistakes to fix.
Once the tree is assembled, add a trunk and draw decorations directly onto the collage. Large crayon dots, zigzag garlands, or a bright star work without beads or sequins. A child who dislikes sticky fingers can use a glue stick and press pieces down with a folded scrap of cardboard.
For siblings, give each child a separate background but share the pile of torn paper. Older children might create several trees of different heights or use lighter scraps on one side to suggest snow. Let the glue dry flat before displaying the picture, and write the child’s name and year on the back if you want to keep it.
Turn cardboard into a standing festive tree
A slot-together tree makes a cheerful shelf decoration without hanging cords or a complicated base. Gather clean, sturdy cardboard, crayons or markers, a pencil, and scissors. Allow 20–30 minutes, including adult cutting time. Thin cardboard is easier to cut, but it needs enough stiffness to stand upright.
An adult can draw two matching tree silhouettes with broad, flat lower edges. Cut out both trees, then cut a narrow slot from the top of one tree to its centre and another from the bottom of the other tree to its centre. Adults should handle thick cardboard and difficult cuts. Test the fit before decorating: the two shapes should slide together at right angles.
Separate the pieces again so your child can colour both sides. Suggest stripes, circles, snowy branches, or a completely unexpected colour scheme, then step back. If the cardboard has printed packaging on one side, cover it with glued paper first or simply treat the printing as part of the design.
Slide the decorated pieces together and stand the tree on a level surface. If it wobbles, check that both lower edges are flat and the slots reach the midpoint. Keep the finished tree away from candles, heaters, and fireplaces. Younger children can focus on colouring while an adult handles construction; older children can measure and plan their own outlines.
The aim is not a matching set of decorations: it is a manageable stretch of time spent making something together.
Create a paper wreath with family messages
A paper wreath offers a gentle way to include conversation without turning craft time into a lesson. You need a large sheet of paper or cardboard for the background, scraps of coloured paper, glue, and a marker. Plan for 20–30 minutes, or add a few leaves each day over several short sessions.
Draw a broad circle on the background, using a plate as a guide if helpful. There is no need to cut out the centre: leaving the sheet intact keeps this version simple. Prepare large leaf shapes, or invite children to tear rough ovals. Arrange them around the circle before gluing, overlapping them enough to suggest a leafy ring.
Ask each family member for something they enjoy doing together during the season. Write one short thought on each leaf, such as reading under a blanket, visiting a relative, or taking a daytime walk. Children can dictate their ideas, draw a little picture, or leave some leaves undecorated. Avoid insisting that every message must be thoughtful or sentimental.
Finish with a paper bow, or draw one at the bottom. Display the wreath somewhere your child can see it without climbing. For a quieter alternative, skip the messages and sort leaves by colour or pattern. The same basic project can suit a chatty group or a child who simply wants to arrange shapes.
Fold a Christmas card with a lift-up surprise
Homemade cards are useful when children want their creations to have a destination. Gather paper, a small paper rectangle, crayons or markers, and glue. This project takes about 15–20 minutes per card, although a child making several may prefer to decorate all the fronts before adding messages.
Fold the main sheet in half. On the front, draw a large present, a house, or a snowy scene. Fold a narrow tab along the top edge of the smaller rectangle, then glue only the tab to the card so the rectangle lifts like a flap. Let your child draw something underneath: a smiling snowman, a family pet, or a tiny Christmas tree.
Decorate the flap to match the picture, perhaps as a gift lid or a little door. Test that it opens before adding lots of detail. A large flap is easier for younger hands to lift and gives children more room to draw. Avoid attaching tiny decorations that could come loose.
Inside, offer a simple starting phrase, such as ‘My favourite thing we did together was…’ A drawing or dictated message is just as personal as independent writing. Ask your child who they would like to receive the card, without requiring them to give away a piece they want to keep. An adult should handle addresses and delivery arrangements.
Build a pretend North Pole story scene
For children who prefer storytelling to making decorations, turn a sheet of paper into a small imaginary landscape. You need a paper base, folded paper for buildings, crayons, glue, and optional cotton-free paper snow made from torn white scraps. Allow 25–40 minutes, or make the scene in stages.
Fold a strip of paper into an upside-down V to create a simple tent-shaped workshop. Colour it before gluing its lower edges to the base. Add a path, trees, and a drawn landing spot for a sleigh. Flat drawings work just as well as standing pieces, especially for younger children or anyone who finds folding frustrating.
Invite your child to decide what happens in the scene. Perhaps the reindeer need a rest, a parcel has lost its label, or the workshop helpers are having a cocoa break. If Santa’s journey becomes part of the game, describe any tracking as a fun, fictional story rather than a real location service.
Older children might add a hand-drawn map and invent stops along the route. Younger children can move a large folded-paper sleigh between drawn landmarks. Supervise any small pieces, or keep everything drawn and glued flat for children who mouth objects. Photograph the finished scene if your child agrees, then keep favourite elements and recycle the rest when play is finished.
Frequently asked questions
What are easy Christmas crafts for toddlers?
Try a torn-paper tree with large pieces and adult-applied glue. Offer a few pieces at a time and let your toddler press them down. Stay alongside them, use age-appropriate materials, and avoid small decorations. Stop when their interest fades, even if the picture looks unfinished.
What Christmas crafts can children make without buying supplies?
Start with a folded card, a paper collage, or a cardboard tree using clean materials you already have. Children can colour plain paper instead of using coloured sheets. If you have no glue, choose a drawn card or a folded-paper scene with freestanding pieces.
How can I do Christmas crafts with children of different ages?
Use the same theme but vary the jobs. Younger children can colour and place large pieces; older children can write messages, plan patterns, or practise supervised cutting. Give each child their own base so the older child does not automatically become responsible for finishing everyone’s work.
How do I keep Christmas crafting from becoming too messy?
Choose crayons and glue sticks rather than paint, set out small amounts of paper, and keep an offcut box within reach. Leave a few minutes for a shared tidy-up. A single clear drying spot also helps prevent wet projects from travelling around the house.
Keep Christmas crafts for kids simple enough that you can enjoy the process alongside them. Pick one project, prepare only what it needs, and leave room for changes of plan. A lopsided tree or a card full of unexpected colours can hold far more personality than a carefully corrected design. When interest runs out, stop, tidy together, and let the finished work—or the happy memory of making it—be enough.
Make this Christmas unforgettable
Turn These Ideas Into Christmas Memories
Our two family paperbacks are packed with ready-to-go Christmas activities, crafts, trivia and games — no planning required.
Paperback books sold on Amazon
More Christmas Fun for the Whole Family
Grab these festive paperback books on Amazon.
100 Christmas Activities to Do With Your Family
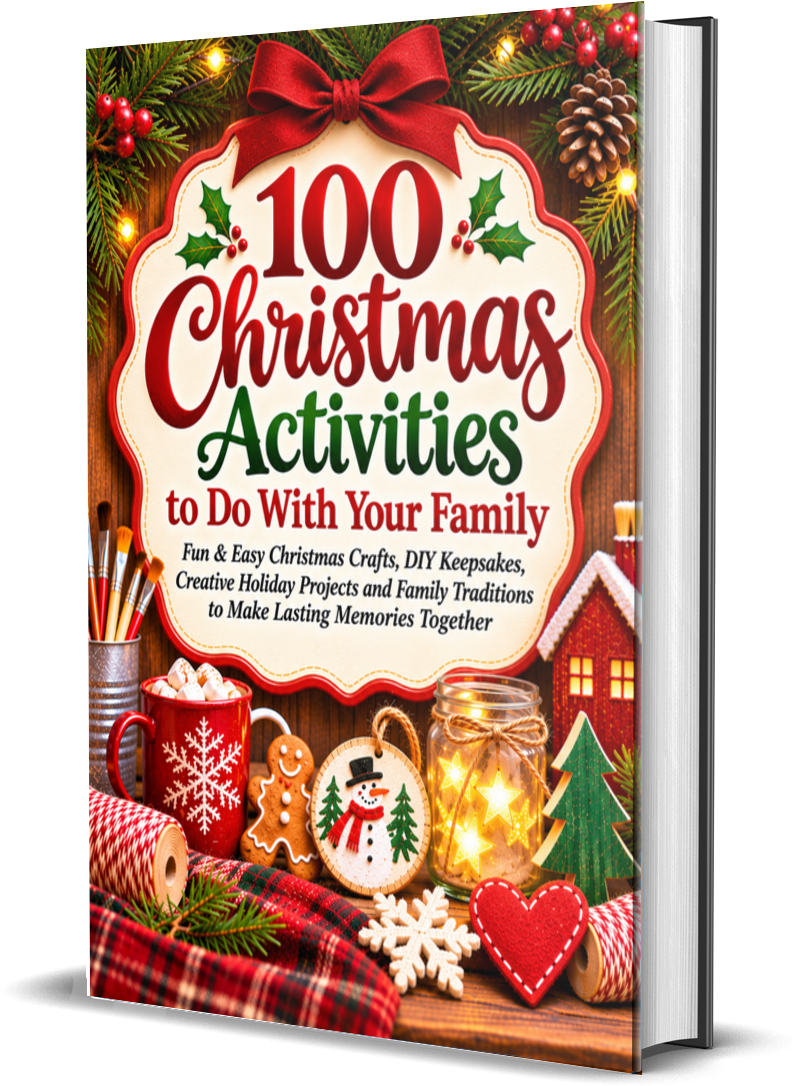 Grab the Paperback Copy
The Ultimate Christmas Family Game Book
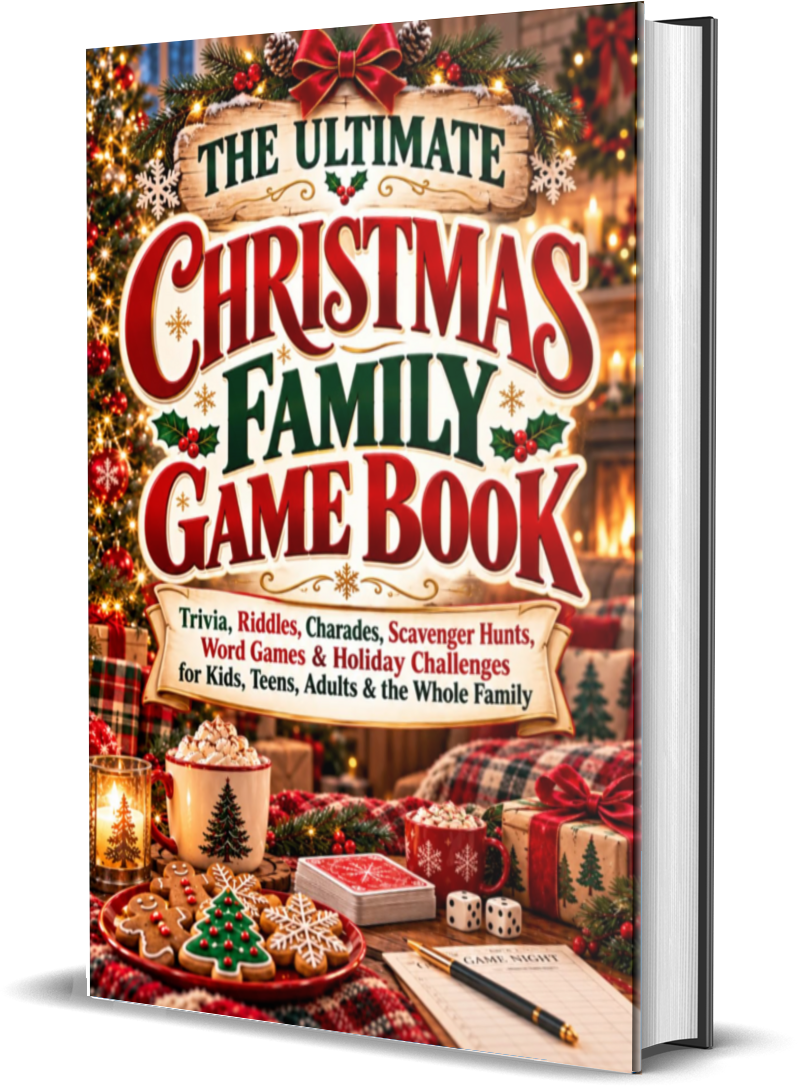 Grab the Paperback Copy
Separate from our digital PDF downloads. Paperback ordering and delivery are handled through Amazon, not your North Pole account.